SOIL BLOCKS
I have been starting seeds in soil blocks for many years since my good friends at Kiwihill Farm in Maine introduced me to the method. Soil blocking is an extremely clever way to start your seedlings. You start with small blocks, then transplant the growing plant into successively bigger blocks.
This is a perfect for the home gardener who wants to save money and grow great seedlings to plant in their garden. The method is space savvy and helps to avoid root bound stressed seedlings. The seedlings you will grow will be of amazing good quality and will put your local nursery to shame! When planting in your garden you will have seedlings without root stress that will acclimate quickly and thrive in your garden.
HOW TO MAKE A SOIL BLOCK
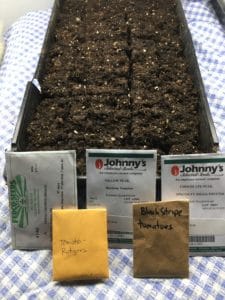
I will show you how to start tomato plant seedlings using the soil blocking method. Begin with a 2” soil blocker. I purchased my soil blockers through Johnny’s Seeds but they are available on Amazon as well.
My soil is a mix of compost I have saved in my basement from my compost pile. I use 2/3 compost and add 1/3 peat moss for a less dense soil. This will allow more airflow in your soil. I fill a container with my homemade soil mix and add enough water to make it wet so the soil will clump.
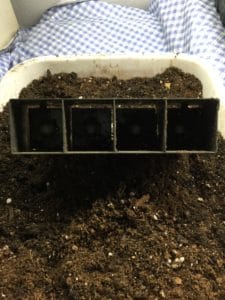
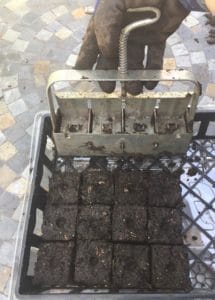
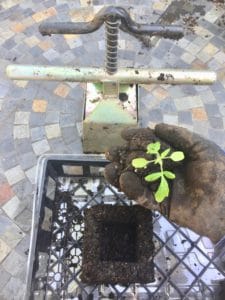
I then put my soil blocker into the soil, holding it by the handle, and twist it until the cavities are filled with the mix. Prior to releasing the soil onto my tray, I turn the block upside-down to make sure the blocks are full to capacity. Finally, I squeeze the plunger handle on the blocker and neat little rows of soil blocks will line your trays.
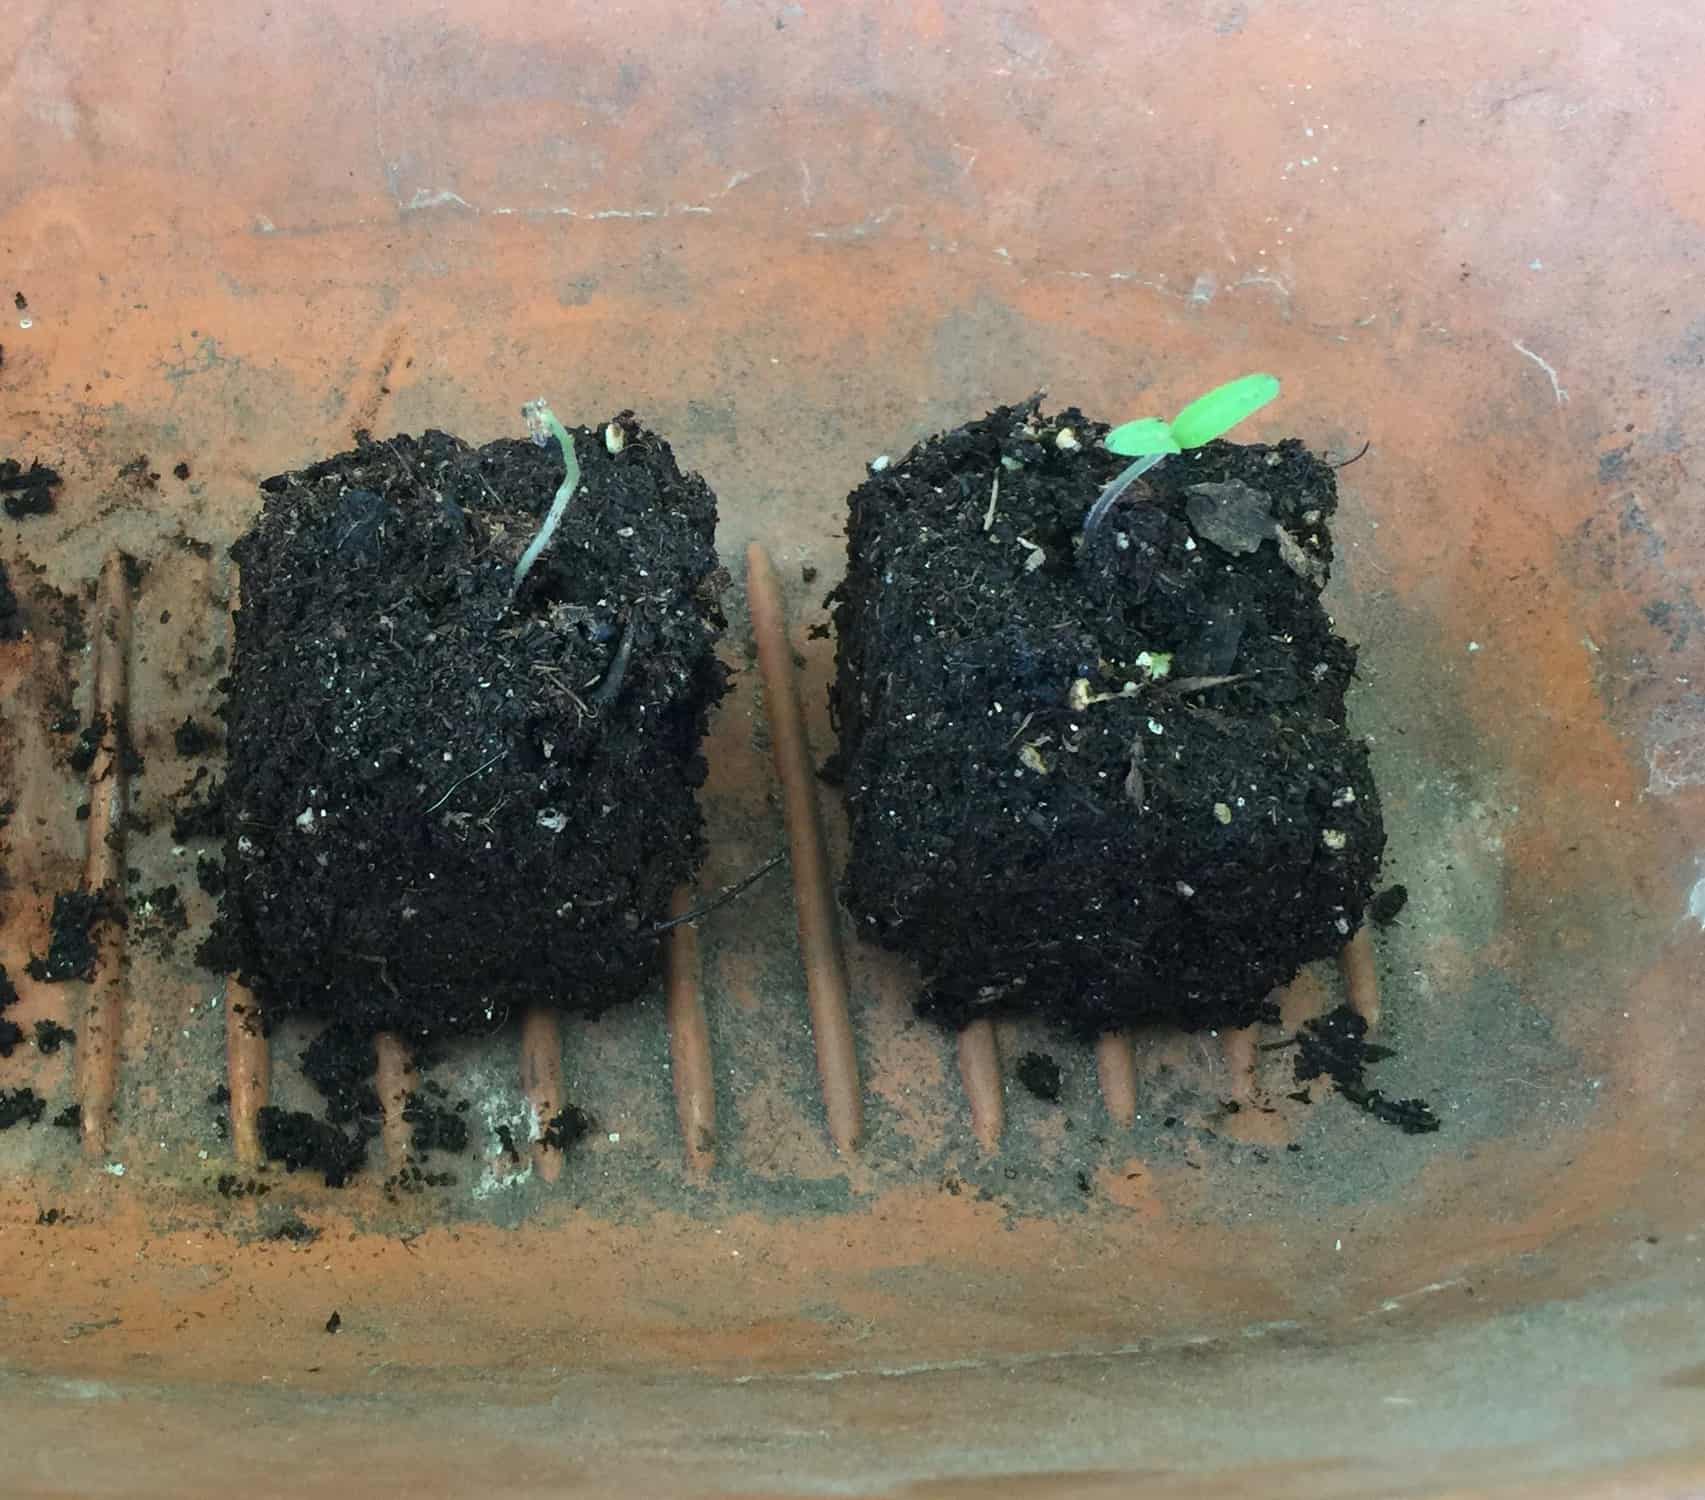
The blocks have a small indentation in the center for your seed. I leave a narrow amount of space between rows so I don’t have to water directly on the blocks.
TRANSFERRING TO THE LARGER BLOCK
When my tomatoes have reached capacity in their 2” blocks and their roots are showing, it is time to transfer to the 4” block.
I repeat the same method with the larger block. The construction of the 4” block is ingenious. A 2” indentation square is in the center so you simple place your smaller block in the hole.

If you want to read more about soil blocking, get a copy of Eliot Coleman’s book, The New Organic Grower. The soil blocker brand I use is Ladbrooke. Well constructed blockers will last a lifetime.
You will be extremely satisfied with this method of growing all of your seedlings. Avoiding plastic cells or biodegradable pots is a highly efficient cost effective approach. Also, you will reduce your carbon footprint and grow GREAT SEEDLINGS!